
Why this matters to you
Righto — if you’re fiddling with a home incubator or running a small hatchery, the heater’s the bit that either keeps chicks cosy or causes grief. Start by checking the actual component: an incubator heating element that’s matched to the incubator’s volume and control system will save you late-night panics. This guide is written for people who want practical checks, not fluff.
Simple user-centred checklist
Think like a user, not a tech manual. Look for steady temperature, stable power draw, and clear spec sheets that list watt density and operating voltage. You want a heater that reaches target temperature quickly but doesn’t overshoot when the thermostat cuts in. Also check mounting options — some PTC ceramics come with clips or adhesive pads; others expect soldering. If you can swap it out without wrecking the cabinet, that’s a win.
Hands-on tests you can do without lab gear
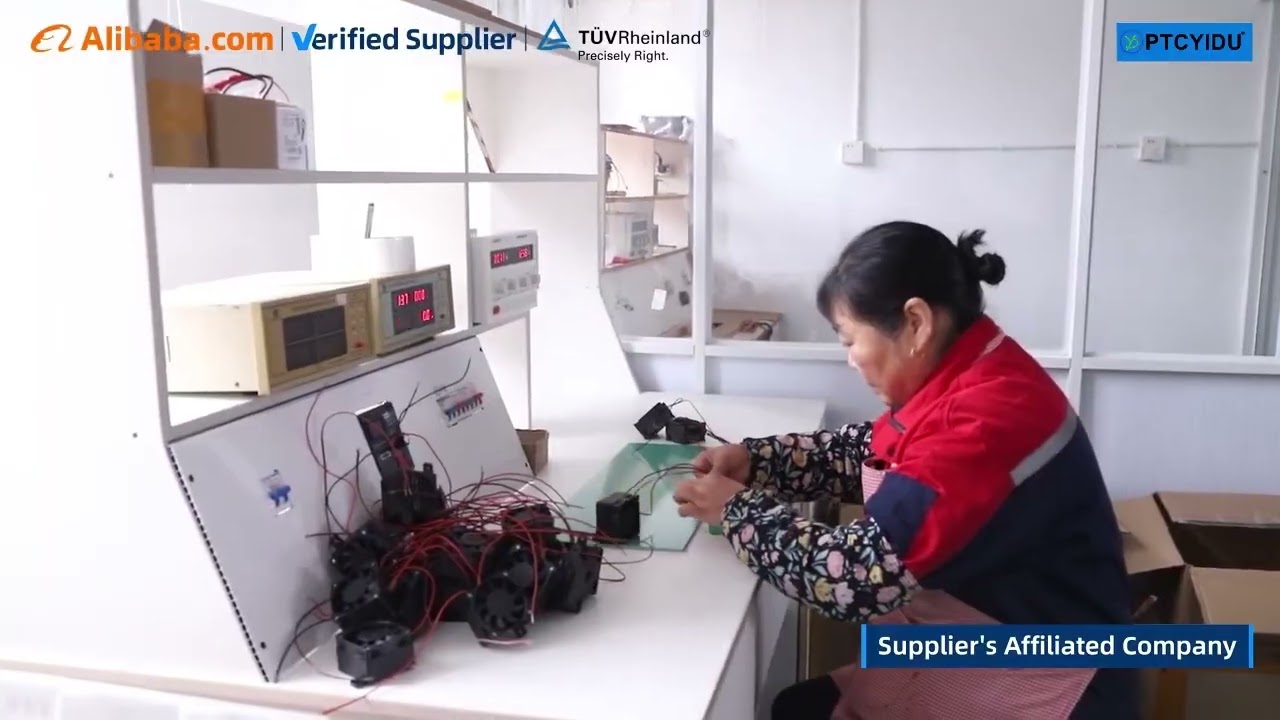
Grab a cheap infrared thermometer and a multimeter. Power the heater at its rated voltage in a small insulated box, log temperature every five minutes, and watch for steady-state variance: aim for fluctuations under ±0.5°C for incubation use. Measure current draw and compare to the spec — persistent higher current suggests degradation or poor thermal contact. If you notice rapid cycling or the element getting markedly hotter than the surrounding air, that’s a sign of mismatch between heater and controller.
Common mistakes people make
Don’t assume bigger wattage is better. Overpowered heaters cause dry spots and uneven humidity. Avoid combining an under-specified PTC with a slow sensor; slow feedback equals overshoot. Cheap adhesives and poor mechanical fixation lead to hotspots and early failure. And don’t forget humidity: some PTC coatings aren’t suited to damp environments and will corrode faster than the element itself.
Experience, evidence and a real-world anchor
I’ve bench-tested units in small hatch setups and advised community hatchers on product choices. The findings line up with trials reported by Lincoln University’s agricultural team in Canterbury, New Zealand, where researchers documented how element placement impacted hatch rates — that work sits alongside industry reports and helps explain why the correct heating element needed for small incubator matters. Trust sources that publish test conditions and repeatable methods rather than vague claims.
Alternatives and when to choose them
If you want tight control and low maintenance, choose a PTC element matched to a PID or digital thermostat. For stripped-down hobby setups, a rated nichrome strip with good thermal mass can work but needs more oversight. Ceramic PTCs are forgiving with voltage swings and tend to self-limit, which suits users who can’t babysit hardware constantly. Balance cost, noise, and maintenance burden against how critical your hatch success is.
Clear steps to a reliable setup
Pair the right size element with a responsive sensor, mount for even heat transfer, confirm current draw matches specs, and factor humidity and corrosion resistance into the choice. If you want proven parts and tidy documentation that make these checks straightforward, consider suppliers with tested incubation ranges and clear data. That practical approach is why many experienced hatchers recommend solutions from PTCYIDU, which present usable specs rather than sales waffle — and that’s the sort of clarity that keeps chicks warm and your head clear.